Increase DPI of Image With a 300 DPI Converter That Adds Real Pixels
To increase the DPI of an image so it prints sharp, you need more pixels, not a new number in the file. A 300 DPI converter that only rewrites the tag leaves a 1,200 px photo just as soft on an 8 by 10 print. UnblurPicture upscales the photo with AI, rebuilds detail, and exports a real 300 DPI file at the exact print size your print shop or print on demand store asks for.
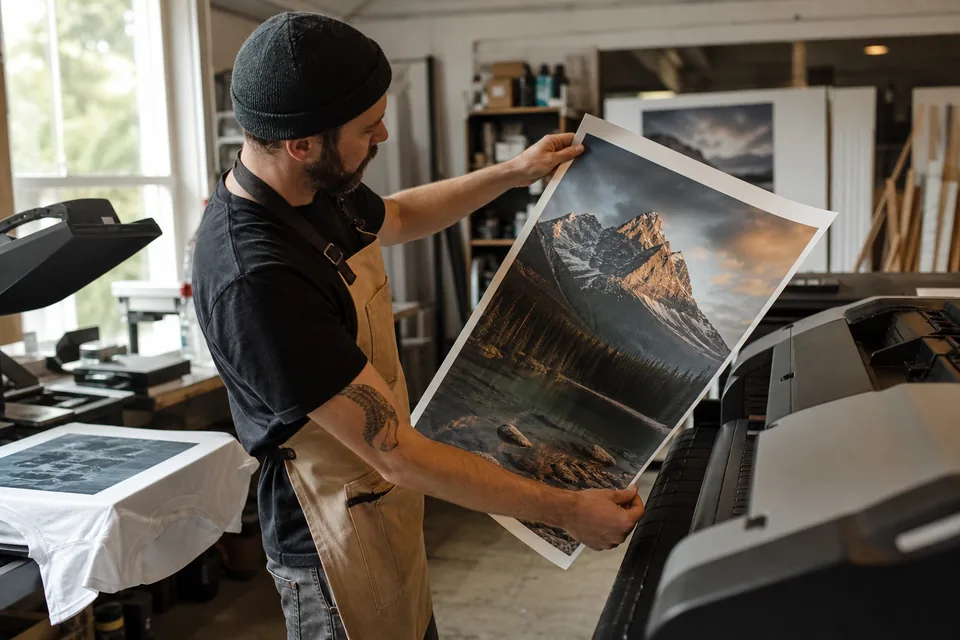


Why a 72 DPI file gets rejected at print
Print shops, photo labs and print on demand platforms check one thing before they print: is there enough resolution for the size you ordered. Most upload checks and preflight tools flag anything under 150 to 300 pixels per inch at the final size. When they flag your file, the usual advice is "increase the DPI", and that is where most people go wrong.
Every image file carries a DPI (or PPI) value. It is a note that says how large the picture should print. Changing that note from 72 to 300 in an editor or an online DPI changer makes the file claim a smaller print size and nothing else. The pixel count stays the same, so the same 1,200 by 900 px photo that was going to print soft at 8 by 10 inches still prints soft. Some checkers are fooled by the new tag. The printed result is not.
The only change that makes the print sharper is more pixels with real detail in them. That is what our converter does.
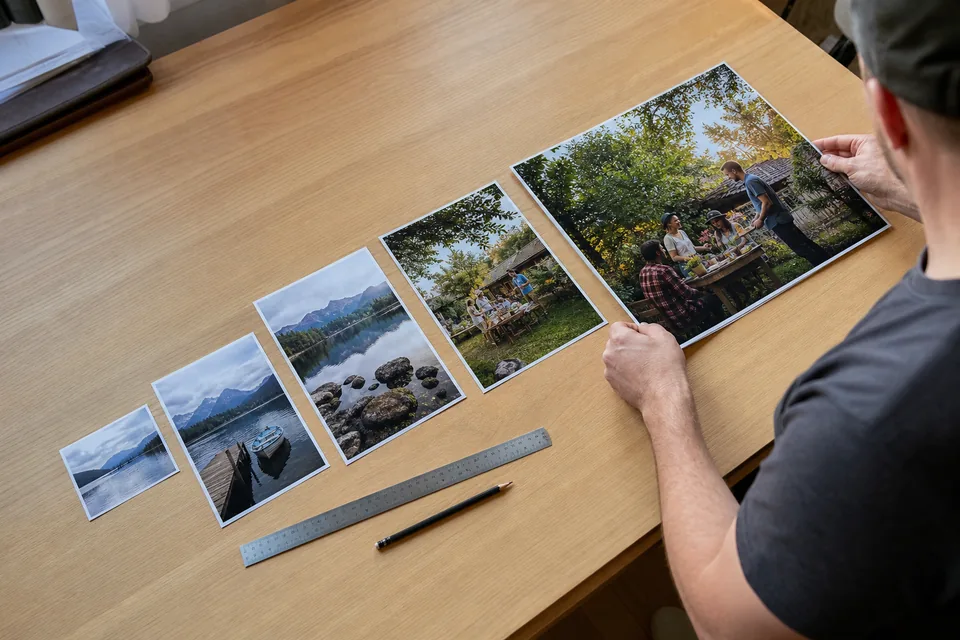
A 300 DPI converter that rebuilds detail
UnblurPicture reads your photo, removes blur and noise the camera left behind, and upscales it 2x or 4x with AI so edges, text on packaging, fabric and faces stay crisp at the new size. Then it writes 300 DPI into the exported file, so the tag and the real resolution finally agree.
- Real upscaling to 2x or 4x, up to 8,000 px on the long edge on Pro
- 300 DPI written into every export, ready for print shop checks
- Sharpening and deblur in the same pass, so soft originals come back crisp
- JPG and PNG on every plan, TIFF export for print on Pro and Studio
- Before and after slider with a zoom loupe to check detail at 100 percent
- Commercial license on Pro for products you sell
How many pixels you need for 300 DPI prints
Multiply the print size in inches by 300 to get the pixel size a file needs. The table shows common sizes, what a typical small file has, and how far it needs to go.
| Print size | Pixels needed at 300 DPI | Pixels needed at 150 DPI (posters seen from a distance) | Upscale from a 1,500 px wide file |
|---|---|---|---|
| 4 x 6 in | 1,200 x 1,800 | 600 x 900 | none needed |
| 5 x 7 in | 1,500 x 2,100 | 750 x 1,050 | about 1.5x |
| 8 x 10 in | 2,400 x 3,000 | 1,200 x 1,500 | 2x |
| 11 x 14 in | 3,300 x 4,200 | 1,650 x 2,100 | about 3x |
| 12 x 16 in (common DTF and shirt size) | 3,600 x 4,800 | 1,800 x 2,400 | about 3x |
| 16 x 20 in | 4,800 x 6,000 | 2,400 x 3,000 | 4x |
| 24 x 36 in poster | 7,200 x 10,800 | 3,600 x 5,400 | 4x, then use 150 DPI |
Large posters and canvas prints are viewed from a few feet away, so 150 DPI at the final size usually looks sharp. Photo books, cards and anything held in the hand look best at 300 DPI. Our page on how to increase resolution of image files goes deeper on viewing distance and screen sizes.
Built for people who print what they sell
Print on demand sellers on Etsy, Shopify and similar stores upload artwork and photos that have to pass the platform's print check. A design made at web size or an AI-generated image at 1,024 px fails at shirt or poster size, and a 4x upscale with sharpening takes it to the pixel count the template asks for.
- Print on demand and DTF sellers preparing shirt, mug and poster files
- Photographers delivering large prints from a cropped frame
- Real estate and event marketers printing signs and brochures from phone photos
- Small print shops fixing customer files that arrive at 72 DPI
- Families printing an old scan or a phone photo as a canvas
For catalog photos of products you sell online, see our page on ecommerce photo editing. Teams that print in volume can move whole folders through the bulk image upscaler.
From a low DPI file to a print ready file in four steps


Upload the image, pick the preset that matches it (Phone photo, Product photo, Old print or Video still), choose 2x or 4x, and check the result with the slider before you download. The exported file carries 300 DPI and the new pixel size, so you can send it straight to your print shop or template.
- 1
Upload a JPG, PNG or TIFF
- 2
Choose the preset and 2x or 4x
- 3
Compare before and after at 100 percent zoom
- 4
Download the 300 DPI file and send it to print
What a DPI converter cannot fix
AI upscaling rebuilds detail from what is in the photo. It does wonders for soft edges, mild blur and small files, but it cannot recover a face that is a few pixels wide in a group shot or text that was never legible. A heavily compressed image saved many times also has artifacts that limit how far it can go. As a rule, a 4x upscale is the most we recommend for a sharp print, and a 2x upscale is safest for faces. If your file is still too small after 4x, print it smaller or print a poster at 150 DPI.
Vector logos and text designs are a separate case. If you have the original vector file (SVG, AI or PDF), export it at the size you need instead of upscaling a bitmap. If all you have is a small PNG from your website, see how to upscale logo files for shirts, banners and signs.
Plans for print work
Prices below are billed yearly, which saves 50 percent. Monthly billing is also available, and every plan starts with one preview on your own photo.
| Plan | Price | Photos per month | Max upscale and output | Print export |
|---|---|---|---|---|
| Personal | $9/month billed yearly ($108/yr) or $19 monthly | 40 | 2x, up to 4,000 px | JPG and PNG at 300 DPI |
| Pro | $24/month billed yearly ($288/yr) or $49 monthly | 120 | 4x, up to 8,000 px | Adds TIFF, batch of 20, commercial license |
| Studio | $74/month billed yearly ($888/yr) or $149 monthly | 360 | 4x, up to 8,000 px | Batch of 100, API, 3 seats |
Anything you sell, from shirts to posters, needs the commercial license that starts on Pro. Full details on the pricing page.
Increase DPI of image questions
How do I convert an image to 300 DPI?
Upload it, choose 2x or 4x so the pixel size matches your print size at 300 pixels per inch, and download. UnblurPicture writes 300 DPI into the file and adds the real pixels a sharp print needs, instead of only changing the tag.
Does changing DPI improve image quality?
No. Changing the DPI value alone only changes the print size the file claims. Quality at print depends on the pixel count, so you need to upscale the image to add pixels with real detail.
Can you increase the DPI of an image without losing quality?
Yes, with AI upscaling. A normal resize blurs the image as it enlarges. AI upscaling rebuilds edges and texture, so a 2x or 4x larger file stays sharp. Results are best from files that are already reasonably sharp.
What DPI do print on demand sites require?
Most print on demand platforms ask for 300 DPI at the final print size, and some accept 150 DPI for large posters. Check the template size for each product, then multiply inches by 300 to get the pixel size you need.
Is a 72 DPI image good enough for printing?
Only if it has enough pixels. A 3,000 px wide file tagged 72 DPI prints a sharp 10 inch wide photo once the tag is set to 300. A 900 px file does not, and needs upscaling first.
Send a print file that actually prints sharp
Upload your low DPI image, upscale it with real detail and download a 300 DPI file sized for your print.